Unlike text-based slides, a video slideshow is dynamic. Video slideshows constantly stimulate the viewers’ attention with images, sounds, and animations to keep them watching. When people watch videos for a longer time, they listen to every reason they should buy or learn from you. Wyzowl showed that video is so alluring to consumers that more than 80% of marketers using it generate more leads, traffic, and sales.
But many companies still stick to static slideshows despite knowing about video’s capacity to attract and maintain people’s attention. They believe it’s hard to add them—but it’s not. You can follow six steps in Vyond to embed videos into your slideshow or add dynamism to existing static presentations. Without motion, viewers are more likely to consider your presentation monotonous instead of interesting.
1. Create a storyboard
A storyboard is a hand-drawn or animated sketch of everything you plan to add. Storyboards act as to-do lists, telling you what’s necessary to create your video. Designing one allows you to spot boring, confusing, or unhelpful portions of your slideshow before adding anything.
Storyboards also make it easier to ensure you have all the right information in your presentation. You want it to be as persuasive as possible, so you need to make sure you include the most persuasive information. As a result, you avoid spending hours on a project unlikely to achieve your results or that your viewer won’t find valuable.
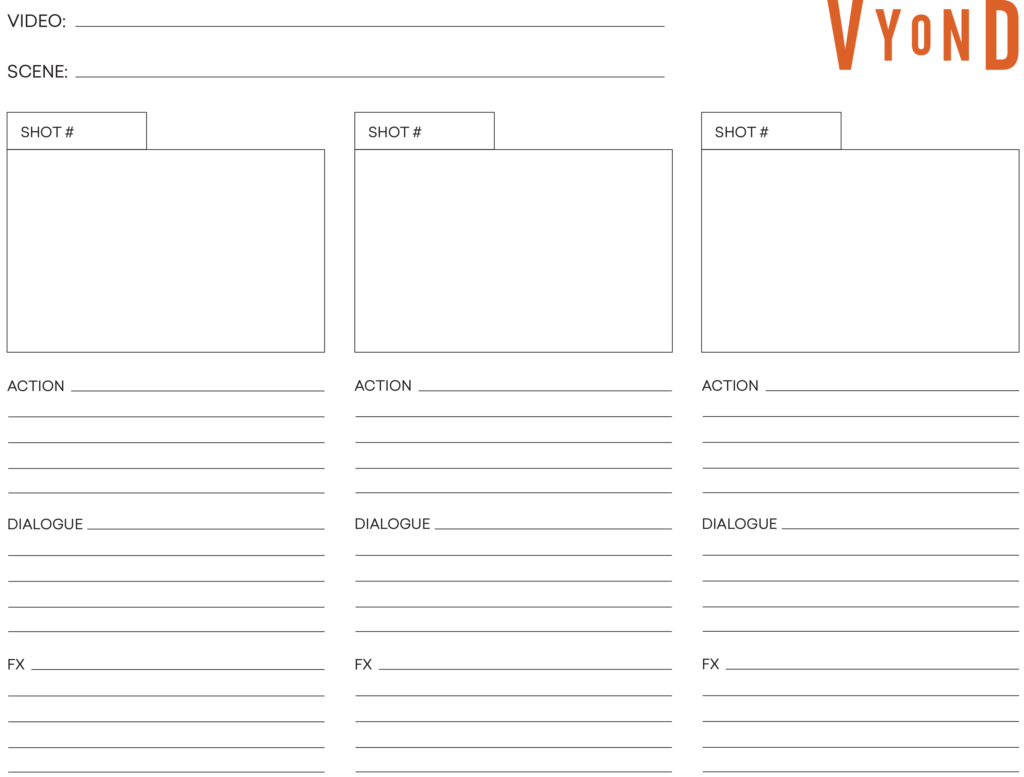
Download and print our free storyboard template in a US letter or A4 format and start sketching. Draw the events of the first slide in the first square. Then write out the script for the slide in the lines provided below it.

For example; if your speaker will pitch a product when they reach one slide, sketch the slide’s statistics, text, and graphics. Then add the words they’ll use to persuade viewers to buy your product.
2. Upload your multimedia assets
Uploading images, videos, and sounds before creating your first slide ensures you have every asset you need. This step saves you time from sourcing folders and stock asset libraries each time you make a slide.
Placing your assets in one place also gives you one last chance to see if you’re missing anything you need to build your slideshow. Skip this step, and you’ll be going back and forth between animating and searching for assets. Not focusing on one task makes you less productive and more likely to make mistakes.
Locate the folders of the assets you want to upload to Vyond. Then, log into your Vyond account and click on Create A Video in the top right corner. Choose the animation style that best matches your brand’s style. Once you’re in the animation suite, drag and drop your files into Vyond.
Make sure your files are in the right format and size:
- MP4 videos with a size of 100 MB or less
- TTF or OTF fonts with a size of 15 MB or less
- PNG or JPG images with a size of 15 MB or less
- MP3, WAV, or M4A audio with a size of 15 MB or less
Vyond will upload all of your assets to the Upload tab on the toolbar’s left side.
3. Arrange videos and images in your timeline
Your timeline controls when an asset shows up or disappears from your slideshow. You always want to arrange your assets based on your storyboard. This ensures your story is cohesive, engaging, and coherent with the goals you want your slideshow to achieve.
Ignoring your storyboard can upset stakeholders. First, you’re taking a path they haven’t approved. The time they spent ideating or reviewing the storyboard is lost. Second, you’re asking for their feedback again. This request requires more time and slows down the project because of feedback loops.
Each square from your storyboard represents one animated scene. Click on “Add Scene” in the bottom-left corner to add a scene to your timeline, then keep clicking until you have as many scenes as storyboard squares.
Go to the Upload tab and find the images you’ll use for the first scene. Click on the first scene’s square then the asset you want to add. Repeat this process for the rest of the scenes until you fill every slide.
Finally, adjust each slide’s length depending on the amount of information you include. You can do this by dragging a scene’s timeline square’s side to the right to make it longer or to the left to make it shorter.
4. Turn your photos into props
You can merge uploaded images with Vyond’s props. For example, you can cut yourself out from one of the photos and add it to a TV prop. This action is called masking a photo—showcasing a portion of an image within a prop.
You can mask images to hide areas that might distract or confuse readers. Readers will only see what you consider essential, like a person’s facial expression or a data point. Emphasizing an image’s vital areas makes viewers more likely to see them.
Masks also help you create images you can’t find in stock libraries. You’ll be able to create the exact images you need to execute the vision of your storyboard, fulfilling stakeholders’ expectations and making your video slideshow as engaging as possible.
Vyond users can mask photos inside the Prop tab. Open it, and then search “Mask.” Then click the prop where you would like your image to be.
Your prop will now be on the animation frame—select it. Next, enter the Mask menu in the top right corner of the screen and click on “Add Asset.” Vyond will automatically show you the images you’ve uploaded. Pick the one you want to mask, and adjust the image’s look within the prop.
5. Add music and sound effects
An emotional connection can make people more likely to buy your product or learn about a topic after watching your video slideshow. You can add music and sound effects to connect specific emotions to certain scenes in your slideshow. For example, you can include a vibrant background song to make people feel inspired.
Vyond has close to 500 background music and sound effects. You can add them to your project from the Audio tab on the toolbar’s left side. Simply press the Play button to listen to how they sound, and click any of them to add it to your project.
You can also add sounds from your computer or stock libraries. To do this, drag and drop them into the timeline. The files will be part of the Upload tab and can be added with one click.
6. Include camera movements
Vyond can recreate the visual effects of moving a camera. Camera movements make video slideshows more dynamic, constantly drawing readers’ attention to the slides. If the slides were static, viewers might see them as monotonous and get distracted.
Some movements, like zoom-ins, reduce a frame’s size to highlight one of its elements. Without this emphasis, viewers could overlook data capable of turning them into customers.
Vyond lets you create two virtual cameras to reproduce the movements of real ones. To add one, enter the Camera tab in the top right corner of the toolbar and press “Add Camera.”
You’ll now see a dark orange rectangle on the animation workspace. It defines the portion of the frame your camera will show at the beginning of its movement. Next, click on “Add Camera Movement” to add a light orange rectangle acting as your second camera. This camera is the movement’s final state.
Adjust the size of both rectangles to achieve different movements. For example, you can create a zoom-out effect by making the light orange rectangle bigger than the dark one. This combination will enlarge the frame.
Create your first video slideshow with Vyond
Vyond is an animated slideshow video maker. It has templates you can use to create your video slideshow in less than an hour. Pick one based on your team’s needs.
Those new to animation can stick to the slides plus voiceover format. Women’s Suffrage & The 19th Amendment and Pies Around The World are perfect templates for this format. They split the timeline into scenes and add transition effects to keep viewers watching.
You can eventually add animated characters and footage to presentations to make them more unique and appealing. This job is easy with templates such as Employee Appreciation Day and Travel Vlog.
Start a free trial
